Introduction To Traditional Climbing Gear
By Connor Chilcott
IFMGA Mountain Guide
Traditional Climbing is the art of placing your own protection while rock climbing. There will be no or very minimal bolts on traditional climbing routes. In this post I will describe a standard traditional rock climbing rack. I will also describe the gear we use aside from the protection itself.
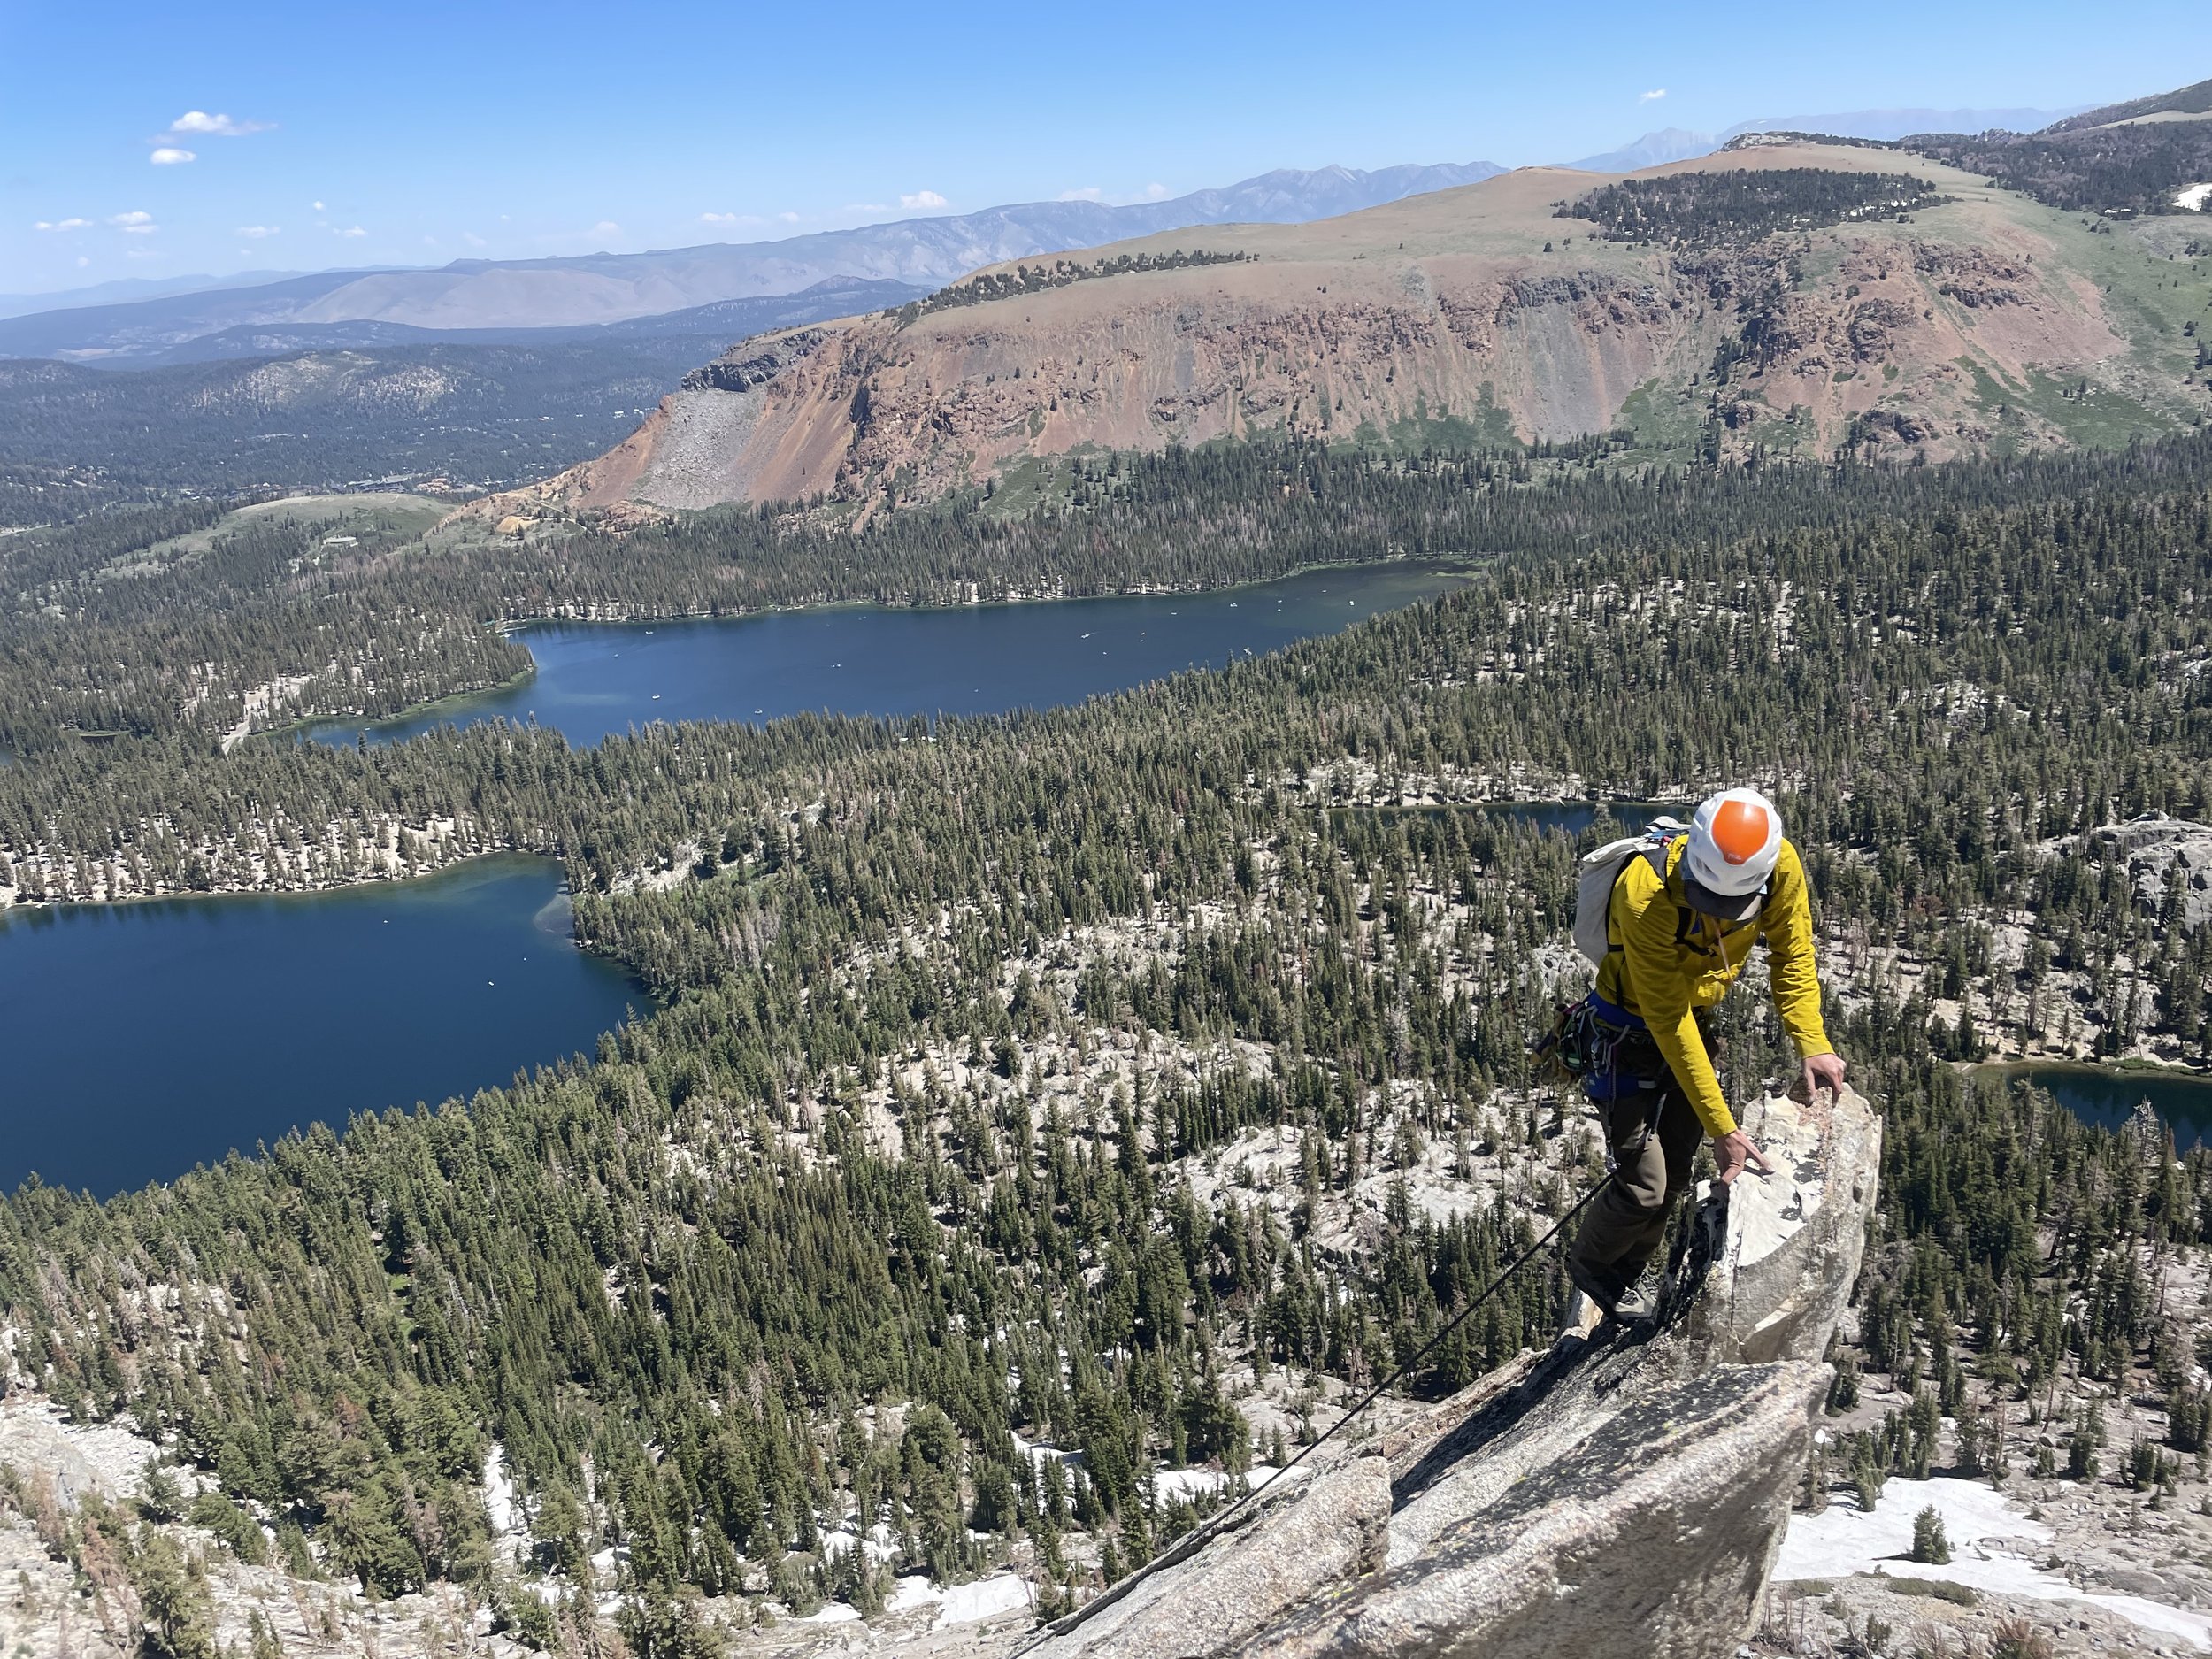
Mike Smith on Crystal Crag, Mammoth Lakes, CA
Rock Shoes
When you are traditional climbing you are often jamming your feet in cracks. I feel it is important to have a crack specific climbing shoe. This should be high top to protect the ankles, and stiff for good support/ edging.
The TC Pro is by the far the most tried and tested crack climbing shoe on the market.
Harness
If you are reading this article and thinking about buying your first trad rack, you probably already own a harness. No you do not need to go out and buy a new harness. Most harnesses will work for traditional climbing.
A few key features I like in a traditional harness are:
Large gear loops
For carrying the amount of gear needed for the climb
Good padding
You will be spending all day in this harness. Having good padding is crucial especially when you have a rack hanging off your harness all day.
Chalk Bag
A chalk bag is used to keep our hands from getting wet and sweaty. Our hands are our connection to the rock. Often we will sweat and the chalk is extremely useful for keeping confidence on the rock.
Examples of Chalk Bag
Grivel logo chalk bag
Static Climbing chalk bag
Locking Carabiners
When leading traditional climbs I often carry 3-4 locking carabiners. These come in all shapes and sizes. I recommend having at least 1 round stock pear shaped carabiner for belaying.
Examples
Black Diamond Rock Lock
Petzl Attache
Belay Device
Air traffic Controller (ATC)
A belay device is to assist you with the rope in catching your partner if they fall.
If you are planning on leading you need to get a belay device with guide mode. This allows you to correctly belay from above on multi pitch climbs.
Gri Gri (Assisted breaking device)
These belay devices are quite a bit pricier. However they have made their way onto every climber's harness. This does not replace an ATC as it is more difficult to rappel. This is an assisted breaking device. That means if for some reason your hand comes off the rope, it is made to cam on the rope and arrest the fall.
Examples of ATC
Petzl Reversso
Black Diamond ATC Guide
Grivel Master Pro
Examples of Gri Gri
Beal Birdie
Petzl Gri Gri
Helmet
When traditional climbing it is extremely important we wear a helmet. I advocate for always wearing a helmet when rock climbing. However, some people choose not to when sport climbing or top roping. With traditional climbing the rock can be less steep and much more loose. The helmet will help protect you from rockfall.
Examples of Foam Helmets
Grivel Stealth Helmet
Grivel Mutant Helmet
Black Diamond Vapor Helmet
Petzl Sirocco Helmet
Climbing Rope
A 60m rope between 9.0 and 9.4, I have an entire blog post dedicated to ropes.
I have an entire blog post dedicated to ropes here.
Spring Loaded Camming Devices (Cams)
These are the bread and butter of traditional protection. I place cams 90-95% of the time. Once you know how to properly place them, they are extremely strong, durable and come in various shapes and sizes. There are many brands to speak about. I would say the best and most popular are totem cams and black diamond cams. Other brands such as wild country are also great! Basically whatever cams you can get the best deal on.
During this post I will speak in black diamond sizes because they are the most commonly used.
There are various types of cams.
Flexible stem cams: such as the Z4 Camalot. I like these in the smaller sizes. Once you get above a .5 I find the weight of the head makes them flex strangely.
Semi-Rigid stem: Such as the regular Camalot. The stem will still flex with these but not as much as the Z4. This is going to be a standard cam, and will encompass most cams you will see on the market. You won't go wrong with an entire rack of these.
Ultralight Cams: I love having Ultralight cams in the larger sizes. They are 25% lighter, however they will wear out much quicker. If I have to hike a far distance for the climbs this set really saves weight. Also the weight savings on a hard lead is worth it.
Examples of Cams
Black Diamond Camalot, Ultralight Camalot, Z4
Wild Country Friends
Totem Cams
Below I will describe a standard rack. This is the rack I would recommend for anyone looking to buy their first rack. The number is the size of the cam. As a rule of thumb, if the guide book says you need gear up to 2 inches then you need to bring up to a #3 camalot. A #2 will not protect well in a 2 inch wide crack.
.3—#3 Black Diamond Camalot Range
This information is important to know when selecting the rack you need for a certain climb. The guide book will always speak in inches, when telling you what size gear you need.
Stoppers AKA Nuts (Passive Protection)
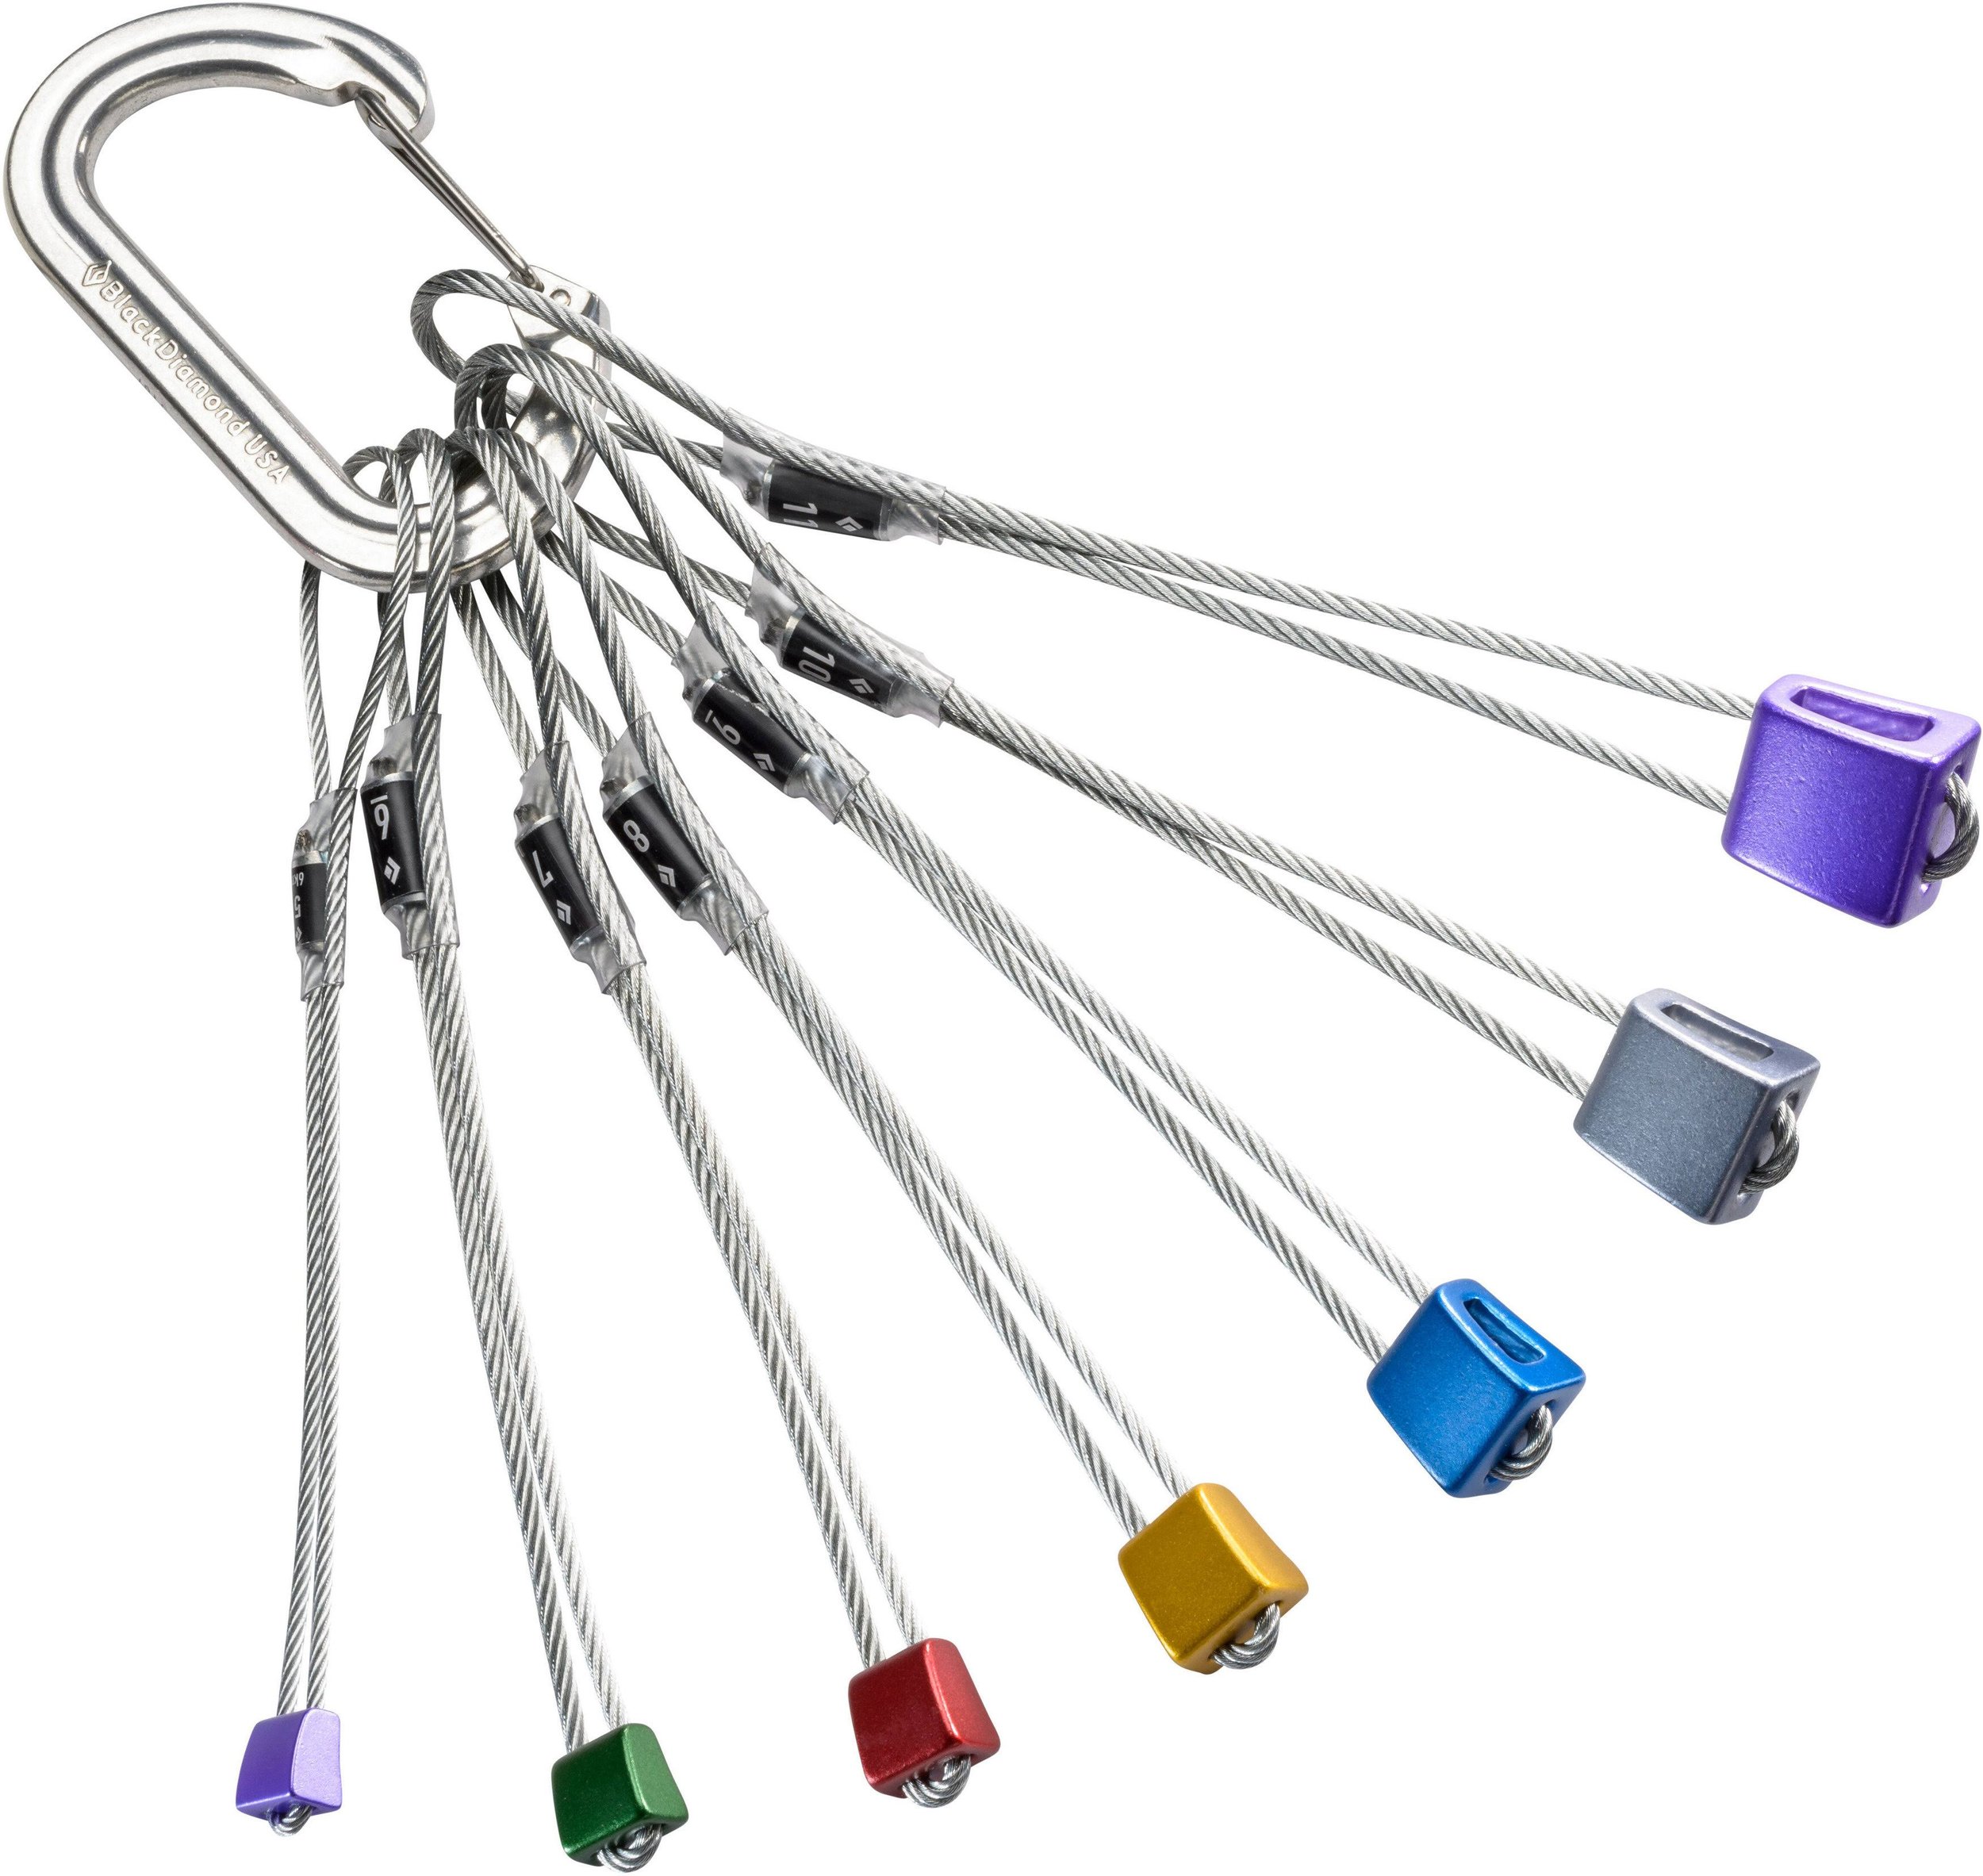
Stoppers, nuts, or chocks are a great piece of protection. Mostly because they are light so you can carry more of them than cams. However they are hard to place and harder to remove. I carry them on every climb but I only place them when I am low on cams and trying to conserve gear.
Stoppers come in various brands, shapes and sizes. Here we will keep it simple and speak about Black Diamond nuts. However a lot of people prefer DMM and Wildcountry nuts.
Standard Nuts: These are going to be the majority of nuts you see on the market.
Offset nuts: These have become my go to for all types of climbing. I find they are easier to place. They fit really nicely in weird places such as piton scars.
Ultralight Nuts: Wild Country makes these and I do really like them. They are called superlight nuts
A standard rack of stoppers:
Black Diamond #5 nut — #11 nut
I find the smaller nuts don’t inspire much confidence free climbing, and the larger nuts are not worth their weight.
Nut tool
This is a tool we use to remove nuts. It is very difficult to get them out without this tool. Anytime you bring nuts, bring a nut tool.
Alpine and Quick Draws
Alpine Draws are 60cm slings with 2 carabiners. These are double backed to be the size of a quick draw. They are completely necessary when leading traditional routes to avoid rope drag. The extended draws allow the rope to run in a straight line even if your gear is spread apart.
I bring 7-8 Alpine draws on while leading traditional routes.
Quick Draws: I carry less quick draws while traditional climbing vs sport climbing.
I carry 4-5 quickdraws for clipping nuts etc.
Anchor Building Materials
In order to make an anchor with traditional gear you need to be able to connect and equalize that gear. For this we use a few different pieces of equipment.
Cordelette: I carry 2, 18-20 ft 6-8mm cordelettes.
I tie the ends of each cord together in order to form a big loop. This makes it easy to equalize your anchor pieces.
Rescue
Aside from everything you have on your harness I always carry a small rescue kit. This allows you to ascend and descend the rope incase of a leader injury.
This kit consists of:
Tibloc: A small mini ascender
Prusik Cord: For Rappelling or ascending the rope
120cm Sling: For using as a foot loop when ascending.
Small knife Incase you need to cut some cord, or a sling to bail and rappel.


